Join the beta!
CopperKit
Turn circuit designs into PCBs with the right tool for your desktop CNC. Use micro end mills, V-bits, or stationary scribers with automatic probing and tuning.
Windows, Mac, Linux
Direct from KiCad or Eagle files
GRBL or grblHAL
Copper removal for every machine
Match the tool to the machine.
CopperKit supports the practical forms of mechanical copper removal used across desktop CNC machines: micro end mills, sturdy V-bits, and stationary carbide scribers.
Start with the tool your machine can hold accurately. CopperKit controls the machine directly, probes the real board, finds settings that work for the tool and material, and remembers them as reusable recipes.
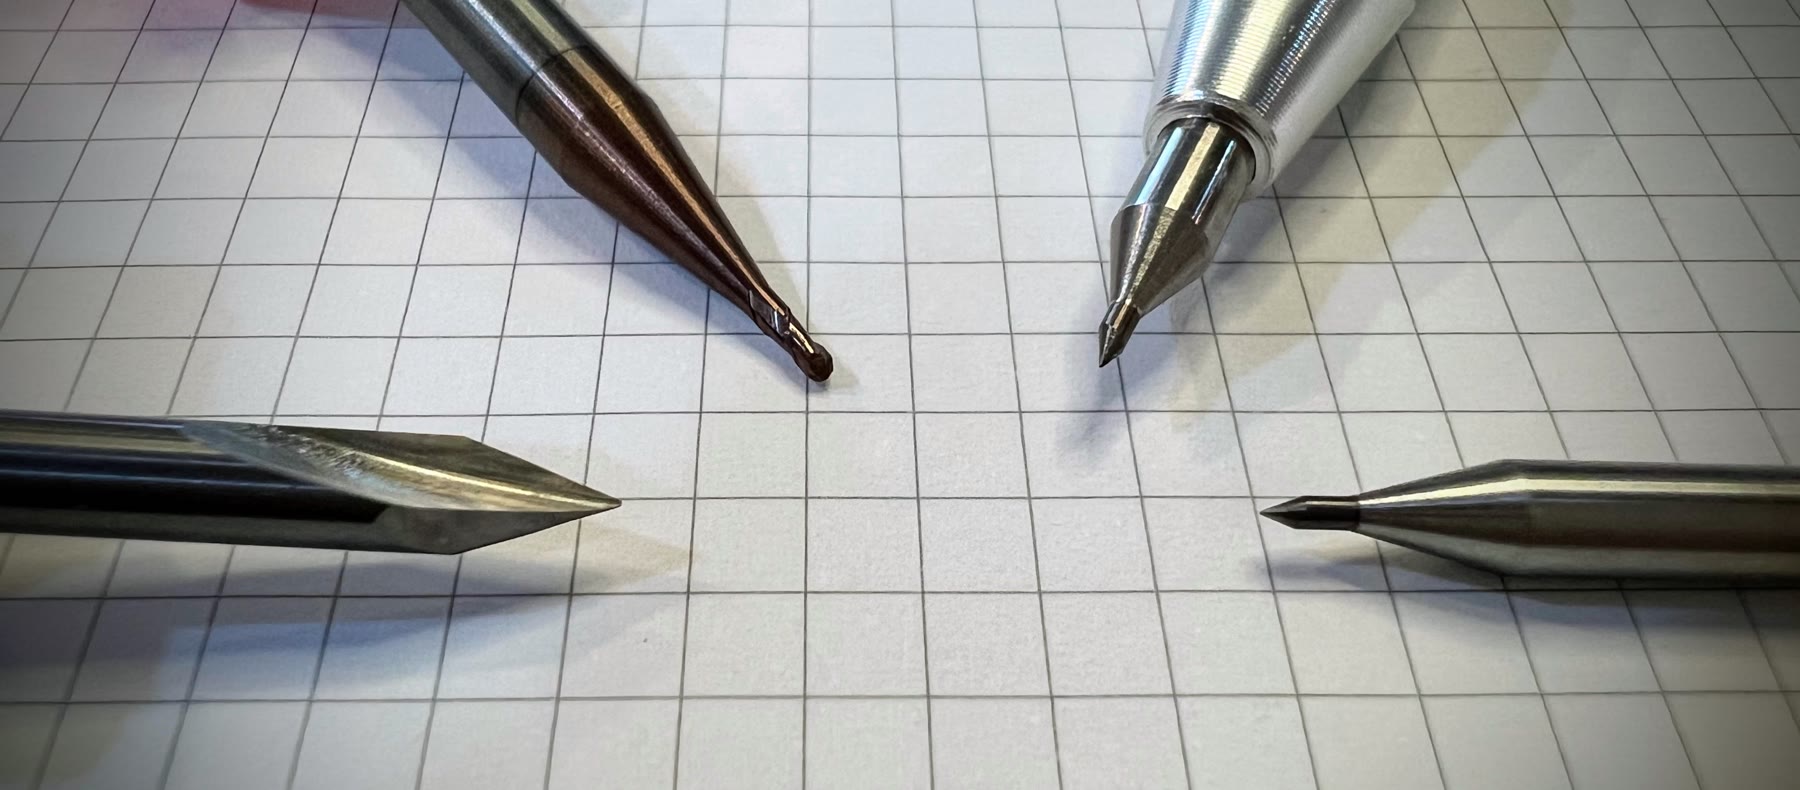
Rotary copper removal, drilling, and board-edge cutting require normal CNC dust control. Stationary scriber passes remain the cleanest option when the machine is rigid enough.
Electrical feedback
Measure the board, not just the machine.
A simple continuity probe lets CopperKit find the copper surface, map real board height, verify electrical isolation, and tune tool settings from measured results.
The working surface
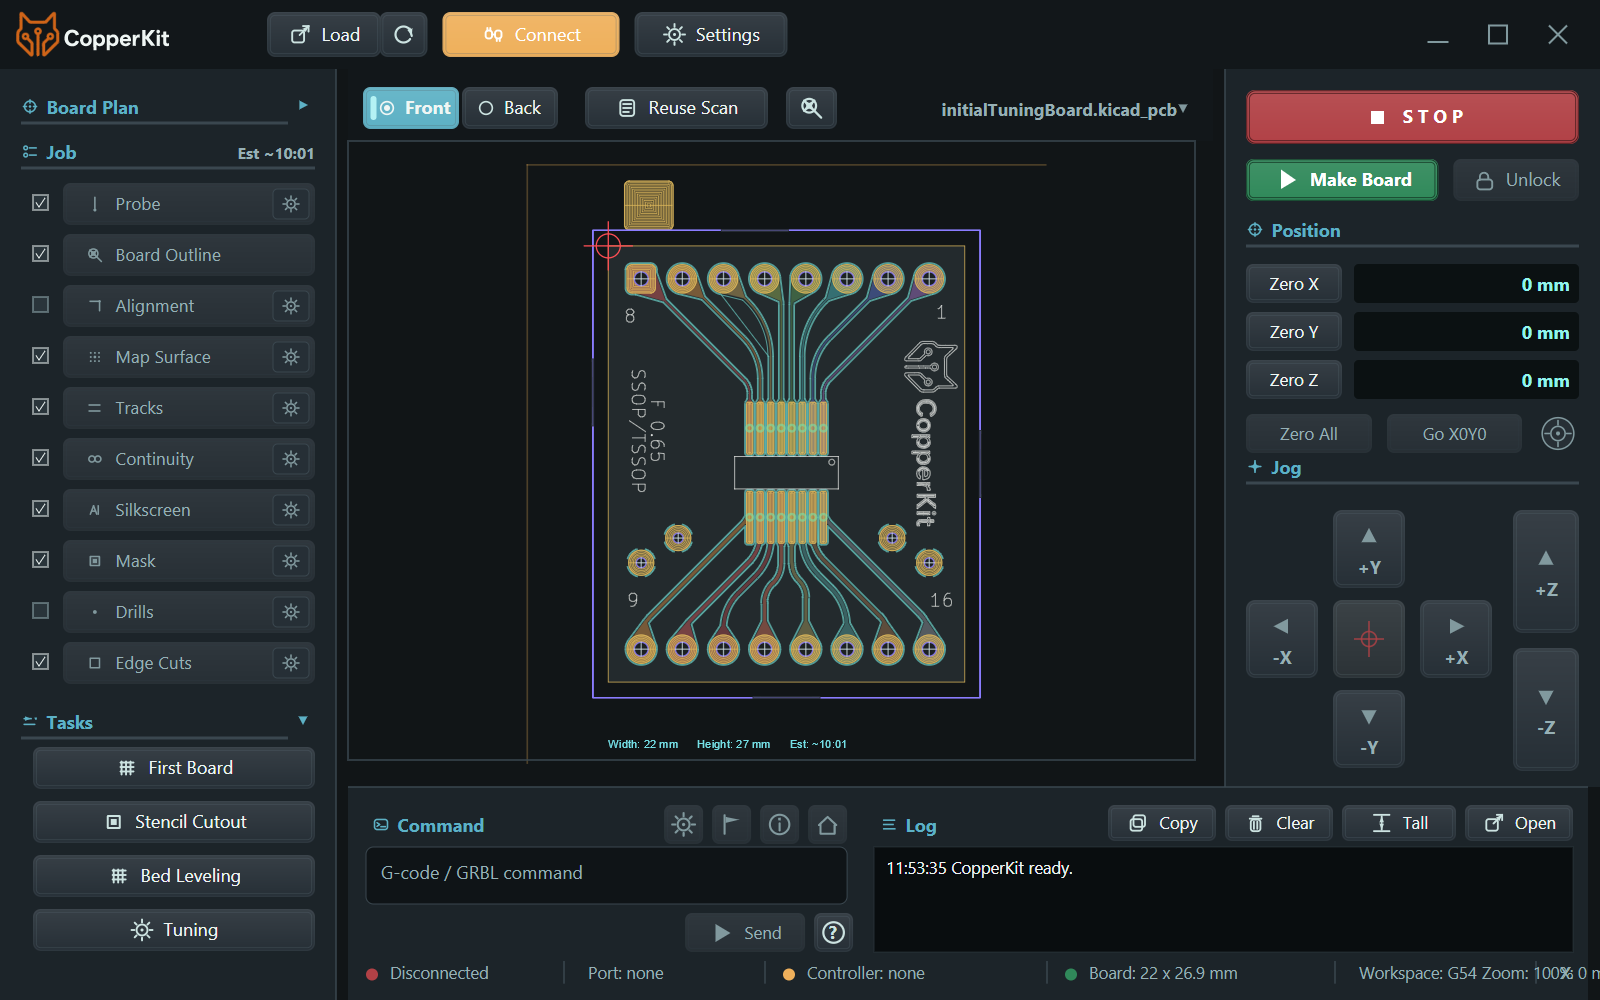
Everything the board needs, in view.
Board geometry, ordered operations, machine position, direct controls, commands, and status stay together in one focused workspace.
What CopperKit does
Board creation with feedback built in.
The beta is focused on validating real machines, real board designs, and repeatable recipes with people who can report what actually happens on the bench.
Flexible copper removal
Isolate traces with a micro end mill, sturdy V-bit, or stationary carbide scriber chosen to suit the machine.
Direct machine control
Connect once and let CopperKit guide probing, alignment, copper removal, drilling, and board release from one workflow.
Dynamic tuning
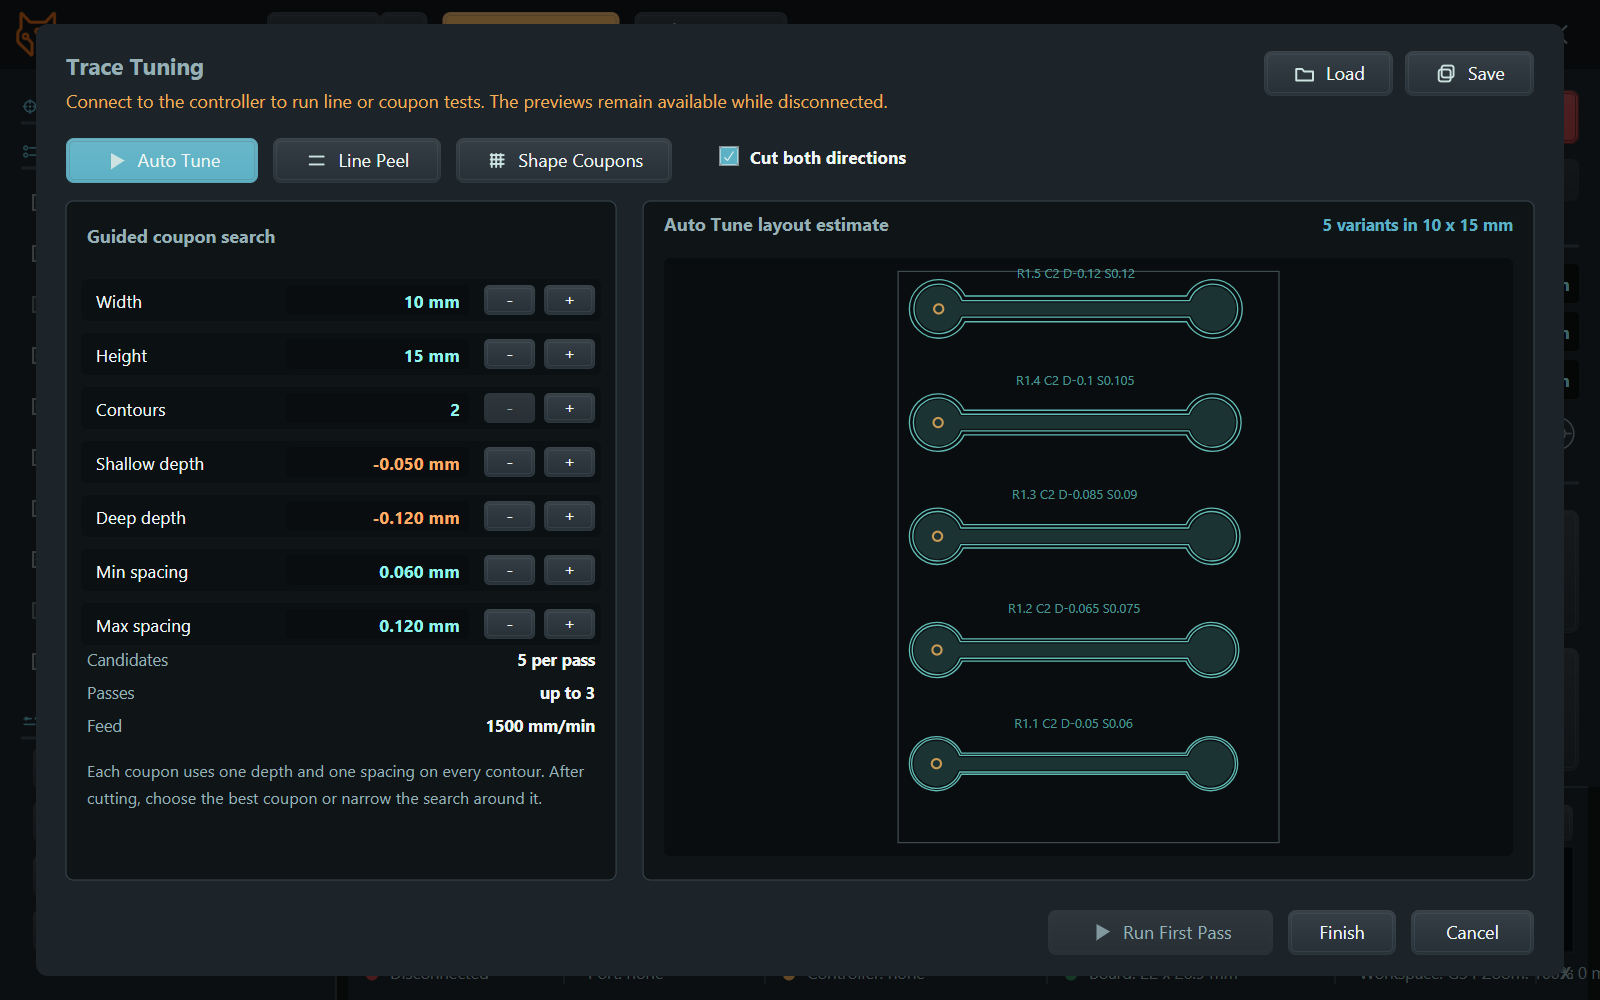
Automatically test, narrow, and remember settings that match the board, tool, and machine.
Alignment and height mapping
Place the design on usable stock, probe the surface, and avoid complicated jigs for ordinary one-off boards.
Board-aware contours
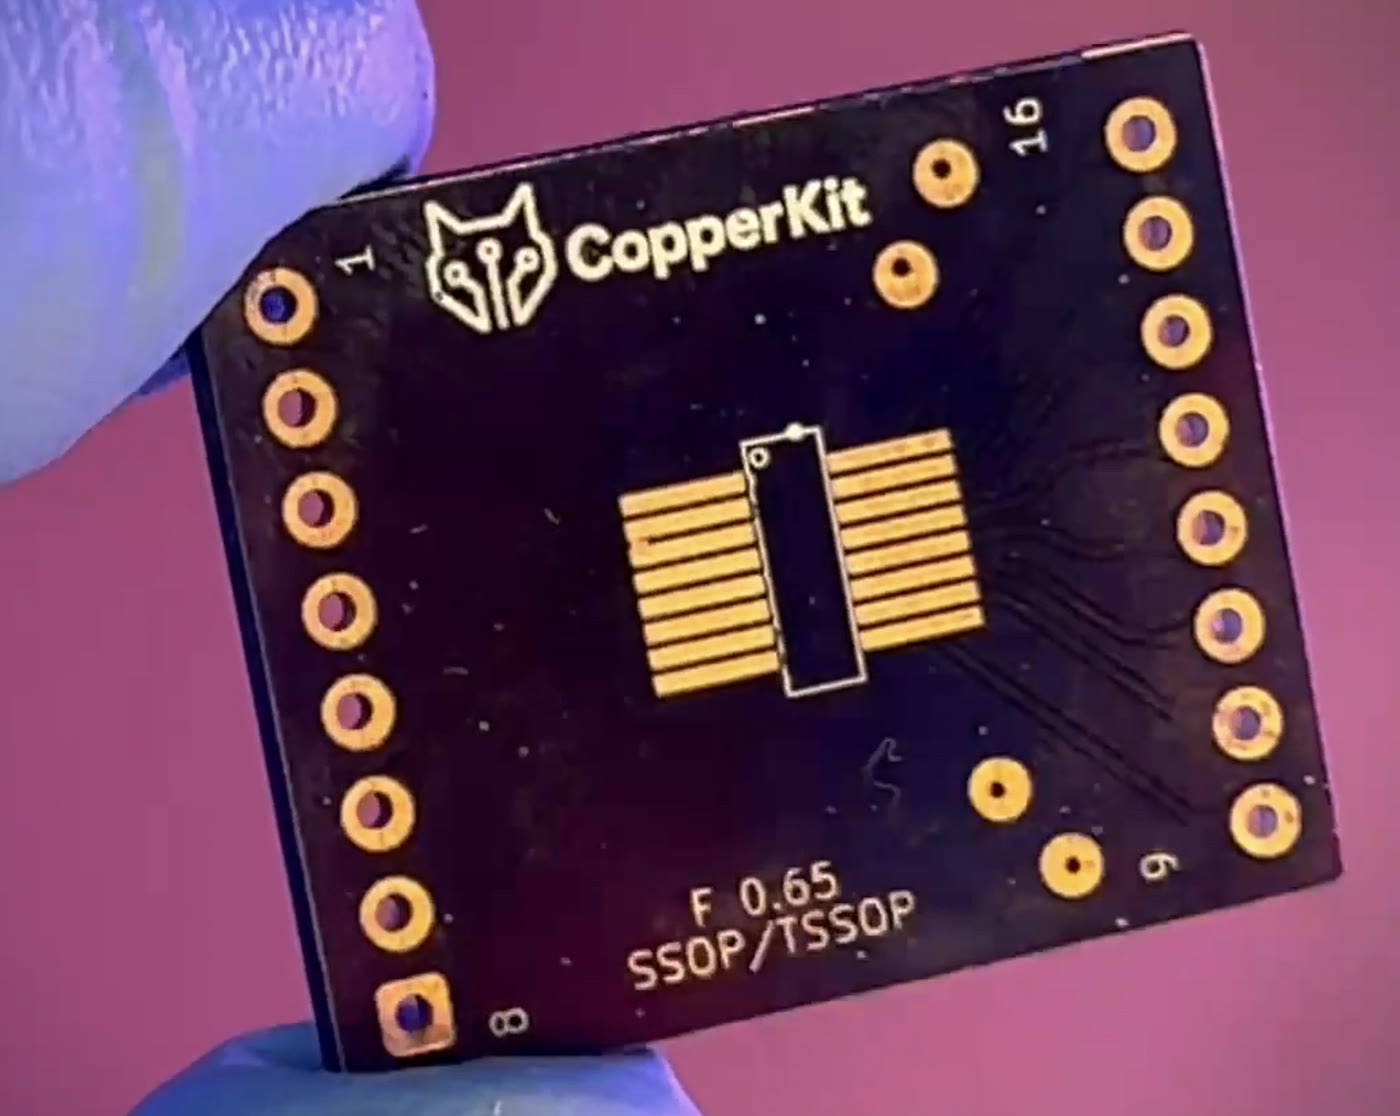
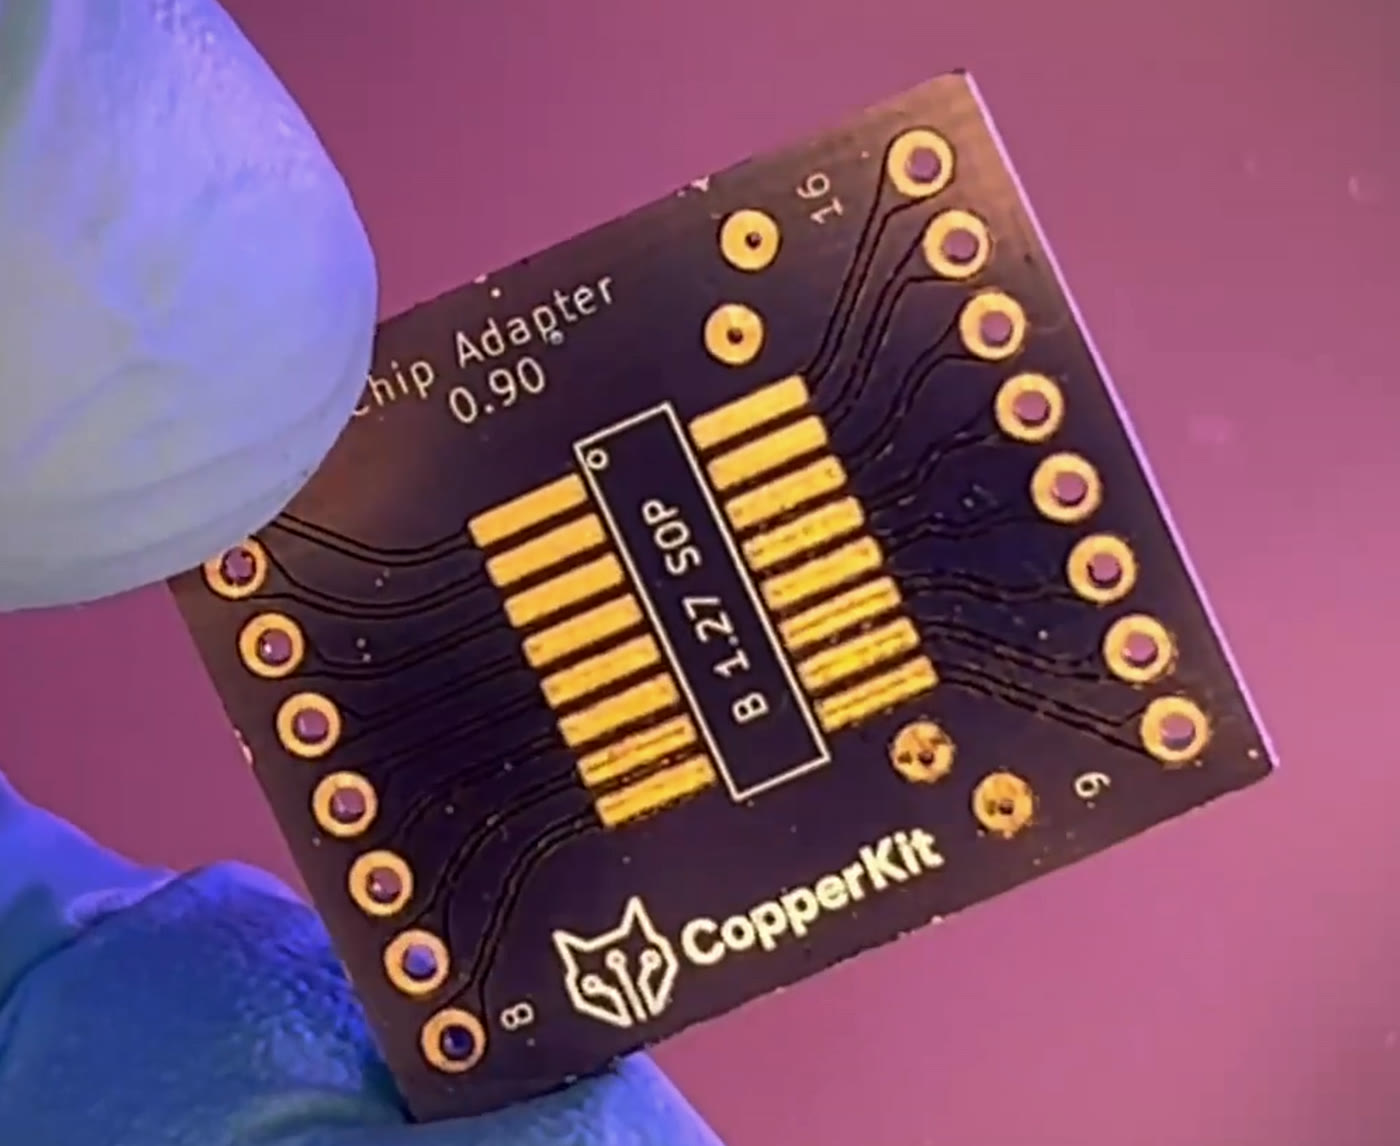
Generate the correct contours for traces, silkscreen, solder-mask openings, drills, and board outlines.
One- and two-sided boards
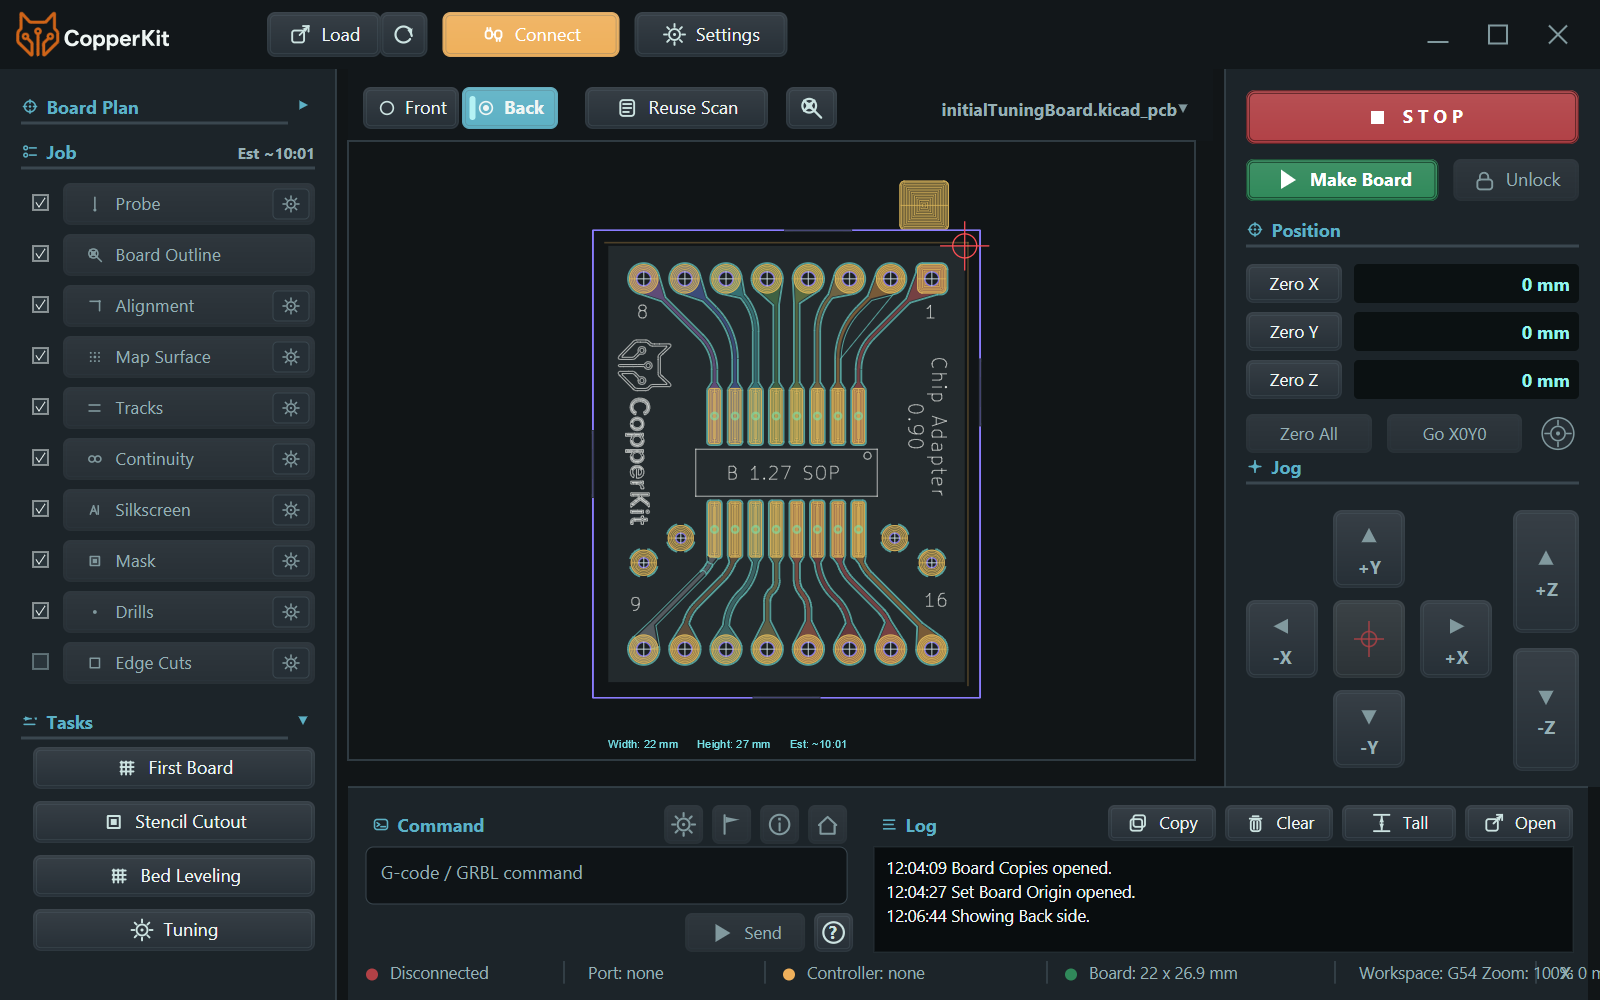
Start with simpler single-sided prototypes, then validate flipped two-sided work with explicit alignment steps.
Early workflow
From design file to working board.
CopperKit is not trying to be a giant CAM suite. It is a focused machine-side path for people who want a board on the bench quickly.
- Load Open KiCad or Eagle board files and inspect the board outline, copper, drills, mask, and silkscreen.
- Connect Read machine settings, understand the controller state, and flag compatibility issues before motion.
- Tune Use small calibration coupons and continuity checks to find reliable parameters for the current tool and setup.
- Create Align, height-map, machine the copper, inspect, drill, and release the board while CopperKit adjusts as needed.
Machine compatibility
From entry-level to rigid desktop CNC.
CopperKit supports every level of desktop CNC by adapting the copper-removal method to the machine. Lightweight machines can begin with rotating tools; more rigid machines can take advantage of fast, dust-free scriber passes.
GRBL or grblHAL
Current testing supports serial-connected, three-axis machines running GRBL 1.1 or grblHAL with standard probing behavior.
Continuity probe
A simple tool-to-copper continuity probe is required for Z probing, surface mapping, and electrical checks.
A sharp, correctly sized tool
Use a micro end mill small enough for the design, a rigid V-bit, or a carbide scriber suited to the machine.
A stable setup
Secure the board, minimize runout and play, and let height mapping account for the copper surface before cutting.
Choose the removal method, not a machine class.
Micro end mills are often the most forgiving starting point on very light machines. V-bits are a sturdy middle ground. On a rigid machine, a stationary carbide scriber is faster, quiet, and produces no milling dust during copper isolation.
Software and process
A guided app, plus shop notes.
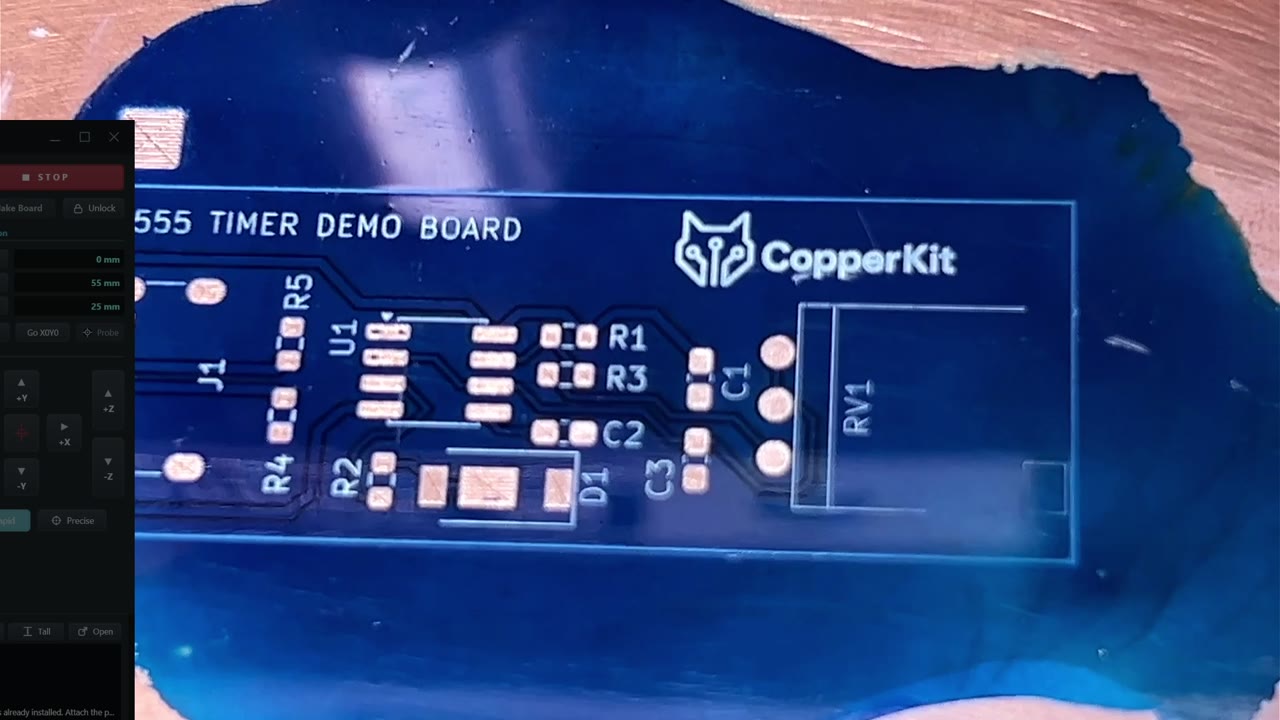
The app keeps machine calibration close to the next real board, then carries that context through front- and back-side work.
AI-ready foundation
Built on a novel numeric system.
CopperKit is connected to the Gojo numeric system: a way of representing board structure, machine state, tuning evidence, and workflow decisions as inspectable numeric relationships rather than one-off symbolic cases.
That matters because future AI assistance should be able to reason about what the machine, board, and process are doing, not just paste generic advice beside the job.
Beta signup
Help validate CopperKit on real machines.
The current goal is to collect beta users and compatibility data across machines, controllers, operating systems, and board styles.
Invited testers can use their private link on the beta download page.
Follow progress at @debreuil.